How to Add and Manage Website Popups (Growth and Scale)
What This Is
Popups are messages that appear on your customer-facing website. They serve two purposes: capturing customer email addresses for your marketing list and showing promotional announcements (like a current sale or seasonal offer).
Popups are a Growth and Scale plan feature. Tenants on the Core plan will not see Popups in the Leads menu. To use Popups, upgrade to Growth or Scale from your profile dropdown → Billing.
Where to Find It
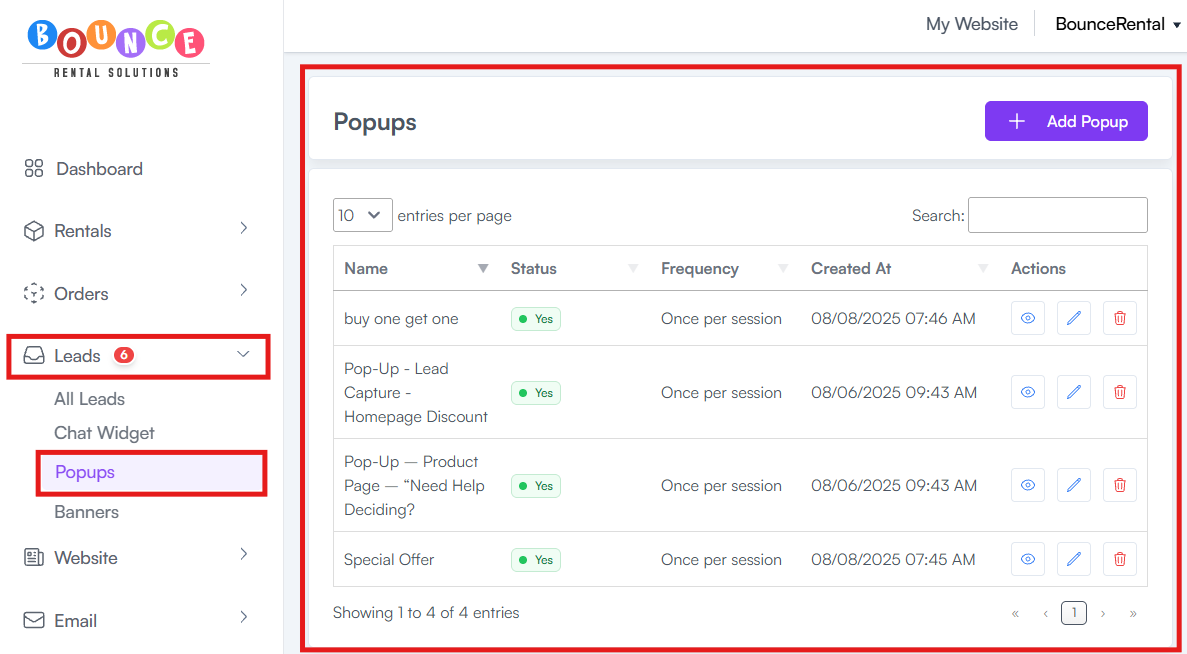
Go to Leads → Popups.
How to Create a Popup
1. Go to Leads → Popups.
2. Click Add Popup.
3. Customize the popup content (headline, body text, image, and any call-to-action).
4. Choose which pages of your website the popup should appear on.
5. Set the timing rules: when the popup should appear and when it should disappear.
6. Save your changes.
Want to display a message across the top of every page instead of showing a popup?
Use a website banner instead. See: How to Create and Manage Website Banners.
Where Captured Emails Go
Every email captured by a popup is saved in two places:
- Leads → All Leads: The lead appears here with its Source listed as **Popup**. Use All Leads to follow up with leads and track their status.
- Email → Contacts: The email is also saved in the contact list named **Pop-Up Signups**. Use this list to send email campaigns.
Important Note
Popups collect email addresses only. To collect customer phone numbers, use the Chat Widget.
Common Uses
- Promotions and discount announcements
- Lead capture (getting emails from website visitors who are not yet ready to book)
- Seasonal offers
- Important business announcements (closures, holiday hours)